How to Spot and Fix Water Damage Early
How to Spot and Fix Water Damage Early

Unnoticed moisture problems rank among the most expensive threats to property integrity. These issues often start small—like faint discoloration or subtle warping—but escalate quickly when ignored. For homeowners, recognizing these early signals can mean the difference between simple maintenance and major renovation.
Visible indicators such as bubbling paint or musty odors often point to trapped moisture beneath surfaces. Left unchecked, these symptoms can compromise structural materials and create ideal conditions for mold. Industry studies show addressing concerns within 48 hours reduces repair costs by up to 70% compared to delayed responses.
This guide focuses on practical detection methods and response strategies. You'll learn to interpret warning signs, implement temporary containment measures, and assess when professional help becomes essential. Modern solutions now enable property owners to protect their investments while maintaining healthy living environments.
Key Takeaways
Early detection prevents 70% of severe structural complications
Musty smells and surface irregularities often indicate hidden moisture
Immediate response within two days dramatically lowers repair expenses
Professional assessments help identify risks invisible to untrained eyes
Preventive measures safeguard both property value and occupant health
Understanding Water Damage and Its Early Signs
Subtle changes in your walls might signal hidden issues. These surfaces often reveal the first clues of trouble through texture shifts or color variations. Timely recognition of these warnings helps prevent extensive repairs and health hazards linked to prolonged exposure.
Common Early Indicators on Walls and Ceilings
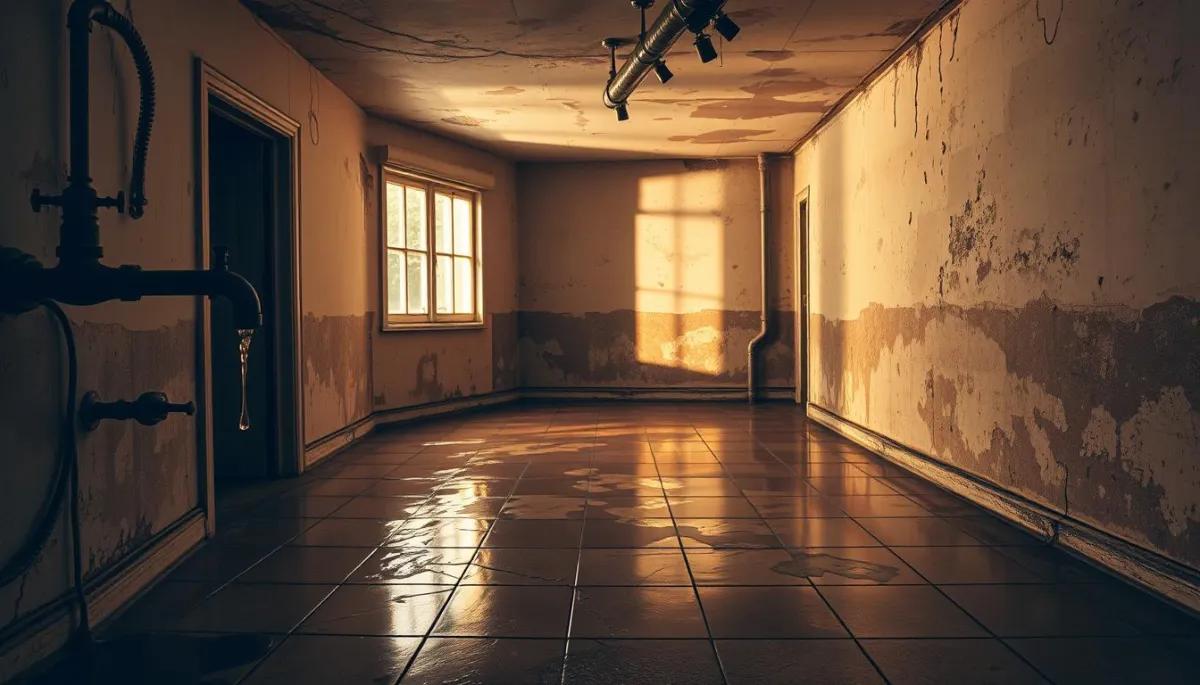
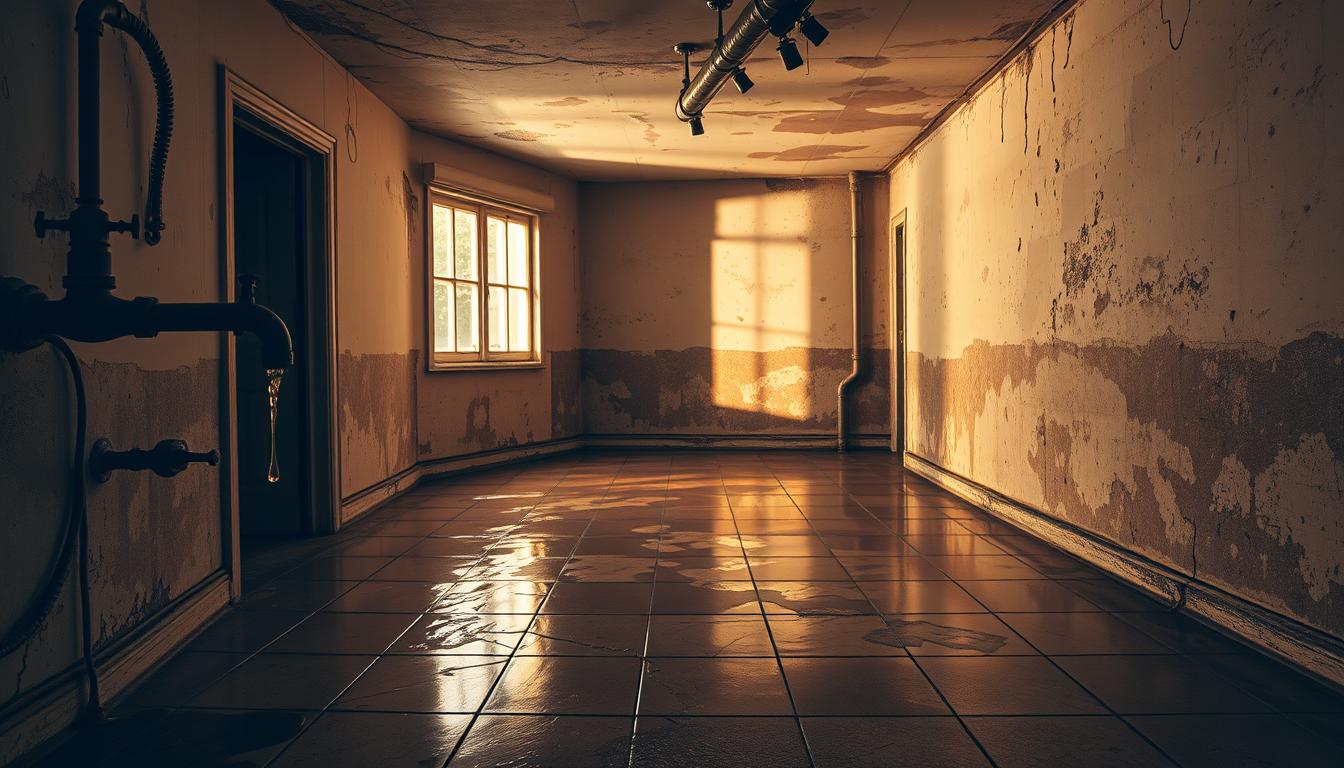
Bubbling paint often appears when trapped moisture separates layers of wall finishes. Ceiling discoloration—yellowish rings or brown patches—usually expands if leaks persist above. Pressing wall surfaces may reveal soft spots where drywall absorbs excess dampness.
Peeling materials frequently occur near windows or plumbing fixtures. Warped baseboards or crumbly plaster also suggest prolonged moisture contact. These signs demand immediate attention before structural components weaken.
Hidden Risks and Moisture Accumulation
Musty smells often emerge from concealed spaces like wall cavities or under flooring. Insulation materials and framing studs can harbor dampness for weeks without visible proof. Professionals use infrared scanners to pinpoint these trouble zones accurately.
Persistent humidity behind shower tiles or under sinks creates ideal mold habitats. Thermal imaging detects temperature variations caused by trapped moisture. Early intervention prevents spores from spreading through HVAC systems.
Identifying the Sources of Water Intrusion
Every home has weak spots that invite unwanted moisture infiltration. Plumbing systems, aging appliances, and weather-exposed surfaces often serve as primary entry points. Systematic checks help locate these trouble zones before they escalate into major concerns.

Inspecting Vulnerable Areas and Leaks
Start by examining high-risk zones where leaks commonly originate. Plumbing connections under sinks and behind toilets frequently loosen over time. Roof valleys and gutters clogged with debris force moisture beneath shingles during storms.
Key areas demanding regular attention include:
Pipe junctions: Corroded fittings or cracked supply lines
Window frames: Deteriorated caulking or broken seals
Appliance hookups: Worn washing machine hoses or dishwasher connectors
HVAC systems often contribute through clogged drain pans or poorly insulated ducts. Basements reveal foundation cracks during heavy rains when hydrostatic pressure pushes moisture through concrete. Professionals use thermal cameras to spot hidden issues in walls and ceilings.
Create an inspection routine that covers:
Testing window and door seals with dollar bills
Monitoring appliance hoses for stiffness or cracks
Clearing roof gutters biannually
Addressing these sources promptly prevents recurring issues and protects your home's structural integrity.
Fix Water Damage: Effective Repair Methods
A methodical plan transforms complex restoration tasks into manageable actions. Structured approaches ensure each phase builds toward lasting results while preventing recurring issues. Proper execution balances immediate containment with long-term structural preservation.
Step-by-Step Repair Process
Begin by halting active leaks at their source. Shut off water valves or patch roof gaps before addressing visible impacts. This prevents new moisture from undermining your efforts.
Locate and resolve the root cause (pipe leaks, appliance failures)
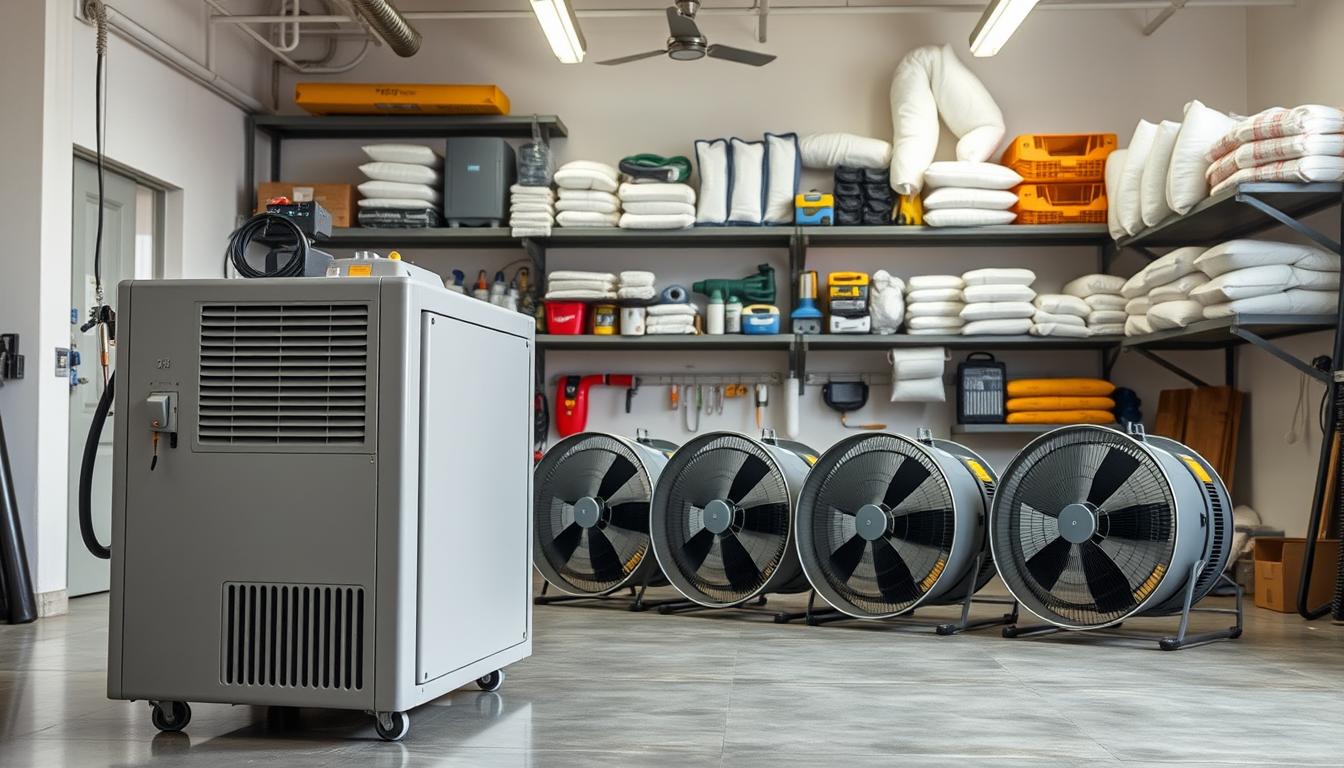
Dry affected areas using industrial fans and dehumidifiers
Remove compromised drywall, insulation, or flooring
Sanitize surfaces to eliminate microbial growth risks
Apply patching compounds to rebuild structural layers
Smooth surfaces with sandpaper for even finishes
Prime and repaint to match original aesthetics
Materials and Tools Overview
Quality supplies determine repair durability. Moisture-resistant primers and mold-inhibiting paints outperform standard products in damp environments. Essential items include:
Utility knives and scrapers for material removal
Calibrated moisture meters for accuracy checks
Respirators and gloves for personal protection
Professional-grade drying equipment accelerates moisture extraction. Thermal imaging devices help verify complete dryness before rebuilding surfaces. These tools minimize guesswork during critical phases.
Removing Damaged Materials Safely
Safely extracting affected materials demands both the right tools and awareness of hidden risks. Proper techniques protect both workers and unaffected areas from contamination. This phase determines whether restoration efforts succeed or face setbacks.

Safe Removal Techniques to Prevent Further Damage
Begin by suiting up in N95 respirators, nitrile gloves, and protective eyewear. These barriers block mold spores and harmful particles from entering airways or contacting skin.
"Cutting corners with safety gear puts entire households at risk,"
warns EPA remediation guidelines.
Score perimeter lines around warped drywall using sharp utility knives. Precision cutting prevents unnecessary harm to stable structures nearby. Contain the workspace with plastic sheeting taped to ceilings and floors—this traps debris during demolition.
Bag contaminated fragments in heavy-duty contractor bags immediately after removal. Local regulations often require special disposal methods for mold-infested materials. Inspect exposed wall cavities with flashlights for discoloration or soft spots indicating deeper issues.
Prioritize tools that minimize dust generation, like oscillating multitools with vacuum attachments. Post-removal air scrubbing helps capture lingering particles. If workers develop coughing or rashes, pause activities and consult medical professionals promptly.
Preparing Your Home for the Drying Process
Proper preparation creates the foundation for successful moisture removal. Strategic planning protects both your property and household members during restoration efforts. Follow these critical steps to establish a safe, efficient workspace.
Ensuring Safety and Setting Up Equipment
Start by disconnecting power to the affected area. Electrical systems near moisture pose severe shock risks.
"Always assume wiring could be energized until verified otherwise,"
advises OSHA safety protocols. Use voltage testers to confirm circuits are dead before proceeding.
Clear the space completely. Remove furniture, electronics, and wall hangings to prevent secondary harm. Lay absorbent mats or plastic sheeting to shield floors from residual dampness. Open windows and exterior doors to boost airflow naturally.
Position industrial-grade equipment for maximum impact. Place dehumidifiers near water sources and fans facing outward to push humid air outside. Monitor temperature and humidity levels hourly using digital hygrometers. Adjust equipment angles every 3-4 hours to target stubborn pockets of moisture.
Create a containment zone with plastic barriers if dealing with multiple rooms. This prevents cross-contamination and focuses drying efforts. Document progress with moisture meter readings to determine when repairs can safely begin.
Efficient Drying and Water Cleanup Techniques
Proper moisture management requires precision tools and proven techniques. Industrial equipment outperforms household alternatives by accelerating evaporation and preventing secondary issues. Strategic planning reduces drying time while ensuring thorough results.

Using Fans, Dehumidifiers, and Moisture Meters
Commercial air movers create hurricane-force airflow that penetrates walls and subflooring. These units dry materials 3x faster than box fans by displacing stagnant air. Pair them with refrigerant dehumidifiers that extract 50+ pints daily from the atmosphere.
Essential tools for effective cleanup:
Wet/dry vacuums for bulk liquid removal
Thermo-hygrometers to track humidity changes
Penetration meters testing material dryness
"Incomplete drying causes 40% of mold recurrence cases,"
notes EPA restoration guidelines. Check walls and flooring daily until moisture levels match unaffected rooms.
Advanced Drying Equipment and Monitoring Tips
Infrared cameras reveal hidden dampness behind surfaces through temperature variations. Create cross-ventilation by positioning air movers at 45-degree angles toward windows. Rotate equipment every 6 hours to address stubborn zones.
Key monitoring practices:
Record baseline moisture readings before starting
Compare affected areas to dry reference points
Adjust equipment when progress plateaus
Maintain 90-100°F temperatures to boost evaporation without warping materials. Document all measurements to confirm readiness for repairs.
Addressing Structural and Aesthetic Repairs
Balancing functional restoration with visual appeal requires careful planning and execution. Proper techniques ensure repaired areas blend seamlessly while maintaining long-term durability against environmental stressors.

Patching and Repainting Techniques
Start by cleaning surfaces with antimicrobial solutions to remove residue. Press patching compounds firmly into gaps using putty knives, building thin layers for stability. Lightweight blends work for small holes, while reinforced formulas handle deeper cavities.
Sand repaired zones using 120-grit paper first, then 220-grit for smooth finishes. Wipe away dust before applying stain-blocking primer. This step prevents discoloration from bleeding through new coatings.
Restoring Wall and Ceiling Integrity
Assess framing members behind walls using moisture meters. Replace compromised supports before rebuilding surfaces. For ceilings, install backing boards where sagging occurs to create stable bases for patching.
Choose paints with mold-resistant additives and semi-gloss finishes for high-moisture zones. Apply two thin coats instead of one thick layer for even coverage. Allow 24 hours drying time between applications.
"Proper surface prep accounts for 80% of paint job longevity,"
states Sherwin-Williams technical guidelines. Final inspections should verify texture matches and color consistency across all repaired sections.
When to Seek Professional Help: Mold Remediation and More
Certain home issues surpass DIY solutions and demand specialized skills. Restoration companies bring industrial equipment and technical knowledge that homeowners lack. Their expertise becomes critical when health risks or structural vulnerabilities emerge.

Signs It's Time for Expert Intervention
Visible mold colonies larger than 10 square feet require professional remediation. These growths often indicate deeper contamination in wall cavities or ventilation systems. Respiratory issues or persistent allergies among residents signal urgent need for air quality testing.
Structural concerns like bowing ceilings or shifting foundations demand engineering evaluations. Restoration teams use moisture mapping tools to locate hidden saturation points.
"Over 60% of moisture problems originate beyond visible areas,"
reports the Institute of Inspection Cleaning and Restoration Certification.
Sewage backups and flood exposure introduce dangerous pathogens needing biohazard protocols. Certified companies follow OSHA guidelines for safe containment and disposal. They also document damage thoroughly for insurance claims, ensuring proper reimbursement.
Advanced drying systems prevent secondary issues like warped framing or microbial growth. Industrial dehumidifiers extract moisture three times faster than consumer models. Continuous monitoring guarantees materials return to safe dryness levels before reconstruction begins.
Preventive Steps to Stop Future Water Damage
Consistent upkeep forms the first line of defense against property threats. Establish regular checkups for critical systems to catch small problems before they escalate. This proactive approach preserves structural stability while reducing long-term maintenance costs.
Routine Maintenance and Inspection Tips
Inspect pipes annually for corrosion or mineral buildup. Check window seals during seasonal changes—cracked caulking allows moisture intrusion. Clear gutters monthly to prevent overflow during storms.
Test appliance connections quarterly. Replace washing machine hoses every five years. Install leak detectors near water heaters and under sinks for instant alerts.
Enhancing Home Insulation and Ventilation
Upgrade attic insulation to regulate indoor humidity levels. Seal gaps around vents and electrical outlets with expanding foam. Use exhaust fans in bathrooms for 20 minutes post-shower.
Improve airflow in crawl spaces with vapor barriers and vented foundations. Consider smart thermostats that monitor humidity automatically. These upgrades create environments where moisture struggles to accumulate.
FAQ
What are the first visible signs of moisture issues in a home?
Look for discoloration, bubbling paint, or warping on walls and ceilings. Musty odors or peeling surfaces often indicate hidden moisture accumulation. Check corners, near windows, and around pipes for early leaks.
How can leaks in vulnerable areas like plumbing or windows be detected?
Inspect under sinks, around toilets, and near window frames for dampness or mineral deposits. Use a flashlight to spot cracks in pipes or gaps in seals. Infrared cameras help identify hidden leaks behind walls.
What tools are essential for repairing affected areas?
Dehumidifiers, fans, and moisture meters are critical for drying. For structural repairs, use drywall knives, joint compound, and mildew-resistant paint. Safety gear like gloves and masks protect during material removal.
Why is prompt action necessary after discovering leaks?
Delayed repairs risk mold growth and compromised structural integrity. Moisture spreads quickly, weakening materials like wood and drywall. Immediate drying prevents costly restoration efforts later.
When should homeowners contact a restoration company?
Seek professional help if mold covers over 10 sq. ft, electrical systems are compromised, or ceilings sag. Experts like ServPro or PuroClean use industrial equipment for thorough cleanup and remediation.
How can ventilation improvements reduce future risks?
Install exhaust fans in bathrooms and kitchens to control humidity. Ensure attic vents and crawl spaces are unblocked. Proper airflow around appliances like water heaters prevents condensation buildup.
Can minor ceiling stains be handled without professional intervention?
Small stains may be treated with bleach solutions and repainting after drying. However, recurring discoloration suggests ongoing leaks—address the source to avoid health hazards from mold spores.
What health risks arise from untreated moisture problems?
Prolonged exposure to damp environments triggers allergies, asthma, and respiratory infections. Black mold (Stachybotrys) produces toxins linked to chronic fatigue and neurological issues.
